How to Patch a Large Hole in Drywall
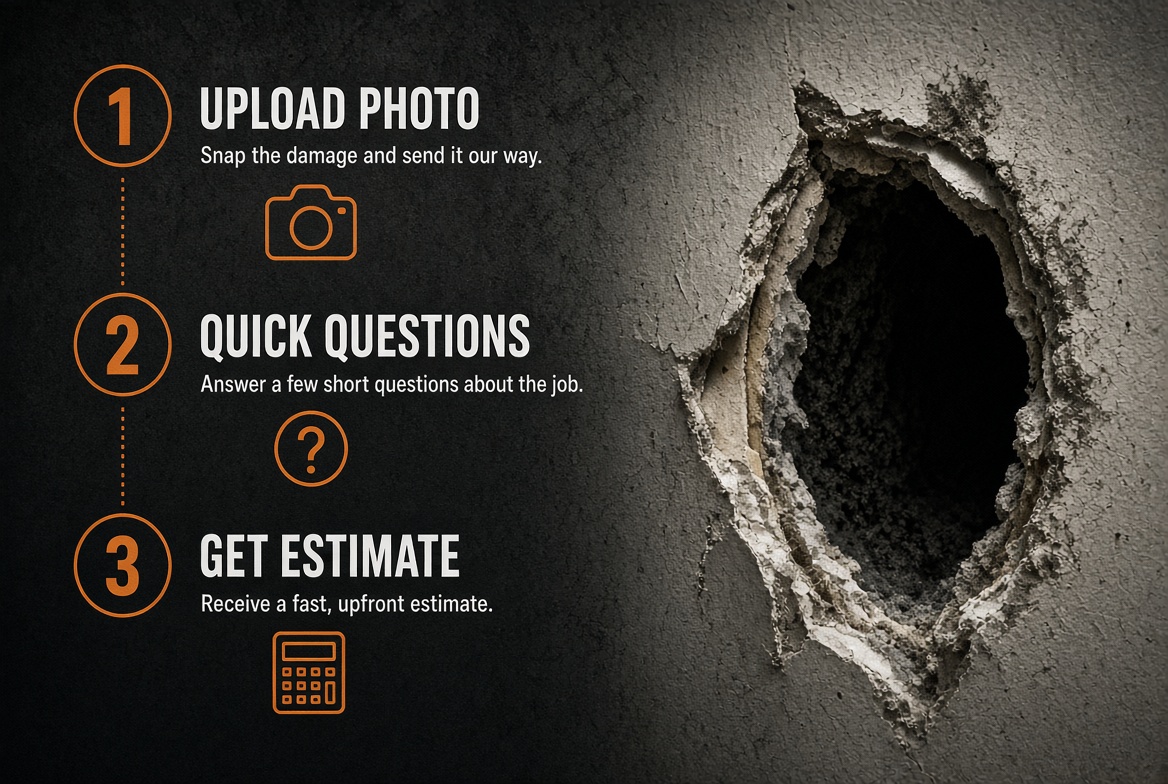
A big hole in drywall looks like a disaster, but it is usually a very fixable one. Once a hole gets past what a mesh patch can bridge, the standard repair is to cut the damage out square, give the opening something solid behind it, screw in a new piece of drywall, and finish the seams like any other joint. Done carefully, the patch disappears under paint.
Large drywall hole repair: quick answer
- "Large" usually means bigger than about 4–6 inches. Past that size, most guides recommend replacing the section with a new piece of drywall instead of a mesh patch.
- The patch needs support. Either screw wood backer strips behind the opening or cut the opening back to the center of the nearest studs.
- Match the thickness. Most interior walls are 1/2-inch drywall; some are 5/8-inch. The new piece must match or it will never sit flush.
- Finish with tape and several thin coats. Feathered, thin coats are what make a big patch invisible.
- DIY usually spans two days because of dry time. WhatAHole heat-dries each coat and finishes about 90% of hole repairs in one visit.
When a hole counts as "large"
Different sources draw the line in slightly different places. Home Depot's drywall repair guide says holes larger than about 4 inches across typically need a new piece of drywall, and Mr. Handyman's repair guide treats anything over about 6 inches as a large-hole repair.
| Hole size | Typical fix | Guide |
|---|---|---|
| Under ~2" | Spackle or a small mesh patch | Quick fill, two thin coats |
| ~2–6" (doorknob, fist) | Mesh patch or California patch | Doorknob hole guide, punch hole guide |
| Over ~6", or crushed edges | Cut-in patch with backer boards | This guide |
| Over ~10" wide | Cut-in patch with backing framed around the whole opening, or cut back to studs | This guide |
If the edges around a smaller hole are crushed, soft, or torn deep into the paper, treat it like a large hole anyway. You need to cut back to solid board before anything will hold.
Before you cut: safety checks
- Look inside the hole with a flashlight. Check for wires, pipes, ducts, or cables before you saw anything.
- Turn off power to nearby outlets or switches if the hole is close to an electrical box.
- Find the studs. Use a stud finder or the hole itself to locate framing on each side. Wall studs are commonly 16 inches apart on center.
- Use hand tools and shallow cuts. Score with a utility knife and use a jab saw slowly; don't plunge a power saw into a wall you can't see behind.
- Older home? Test before you sand. The EPA notes there's no way to know whether drywall or compound contains asbestos without testing. Wallboard patching compounds with asbestos were banned in the late 1970s, so if your home is older than that, get the wall tested before cutting or sanding.
The Electrical Safety Foundation International also has plain-language guidance on working safely around home wiring.
Tools and materials
- Utility knife with a fresh blade, plus a jab (drywall) saw
- Carpenter's square or straightedge and a pencil
- Stud finder and flashlight
- Drill/driver and 1 1/4" drywall screws
- Two backer strips: 1x2 or 1x3 lumber, or plywood scraps, a few inches longer than the opening
- A piece of drywall the same thickness as the wall (often sold as small 2x2 ft panels)
- Joint tape (paper or self-adhesive fiberglass mesh)
- Premixed joint compound; optional setting-type compound for the first coat
- Putty knives or taping knives (6" plus a 10–12" for the last coat)
- Fine sanding sponge, primer, matching paint, drop cloth, dust mask
For planning ranges on what a pro charges for a hole this size, see our drywall hole repair cost guide.
How to patch a large hole in drywall, step by step
Step 1: square up the opening
- Draw a square or rectangle around the damage with a carpenter's square, leaving an inch or more of margin past any cracked or crushed board.
- Score the lines with a utility knife, making several passes so each cut goes a little deeper.
- Finish the cuts with a jab saw and remove the damaged piece.
- Measure the opening. A clean, straight-sided hole is much easier to fill than a ragged one.
Step 2: give the patch something to hold onto
You have two good options.
Option A: backer strips (most common).
- Cut two strips of 1x2, 1x3, or plywood at least 4 inches longer than the opening, so each end reaches about 2 inches past the edge (Drywall 101 recommends this overlap).
- Slide one strip into the hole and hold it tight against the back of the drywall so it's half behind the wall and half exposed in the opening.
- Drive drywall screws through the wall into the strip, about 1 inch from the drywall edge. Sink the heads just below the surface without tearing the paper.
- Repeat on the opposite side. Two strips keep the patch from rocking.
For openings wider than about 10 inches, The Spruce suggests framing the entire opening with strips instead of just two sides.
Option B: cut back to the studs.
If studs sit close to the hole, extend the cut sideways to the center of each stud. A standard stud is 1 1/2 inches wide, so mark about 3/4 inch in from the stud edge. Then both the old wall and the new piece share half the stud for support. This works well for very large openings, but take extra care cutting next to framing, since wires are often stapled to studs.
Step 3: cut and hang the new piece
- Cut the drywall patch to fit the opening with a small gap, no more than about 1/8 inch on each side. It should drop in without forcing.
- Set it in place and screw it to the backer strips (or studs), keeping screws about 1 inch from the patch edges and roughly 6 inches apart.
- Check that the face of the patch is flush with the wall. If it sits proud or sunken, the backer needs adjusting or the thickness doesn't match.
Step 4: tape the seams
- Run joint tape over every seam, centered on the gap. Overlap the tape at the corners.
- If you use paper tape, bed it in a thin layer of compound first and squeeze out the excess. Self-adhesive mesh tape goes on dry.
- Make sure the tape lies flat with no bubbles or wrinkles.
Step 5: build thin, wide coats
- Apply a thin first coat over the tape with a 6-inch knife. You should still be able to see the tape texture through it.
- Let it dry fully, then knock off ridges and clumps with the knife.
- Apply a second coat a few inches wider than the first, feathering the edges so the compound tapers to nothing on the surrounding wall.
- Add a third, wider, very thin coat with a 10–12-inch knife. Large patches usually need three or four thin coats to disappear.
- Spot-fill the screw heads with each coat.
Step 6: sand, prime, and paint
- Sand lightly with a fine sponge until you can't feel the edge with your fingertips. Don't oversand, or the tape will show.
- Wipe off all dust.
- Prime the whole patched area. Raw compound absorbs paint differently than painted wall.
- Paint. On a big patch, painting the wall corner to corner hides the repair better than a touch-up square.
DIY time vs a one-visit pro repair
| DIY with premixed compound | Pro who heat-dries each coat | |
|---|---|---|
| Hands-on work | Often 1–3 hours for a cut-in patch | Done during the visit |
| Waiting between coats | Often hours to overnight per coat | Each coat dried before the next goes on |
| Calendar time | Usually about two days before paint looks right | About 90% of WhatAHole hole repairs finish in one visit |
| Finish risk | Humps, visible seams, or flashing if coats go on thick or primer is skipped | Paint-ready finish is the goal |
Our repair time guide breaks down work time vs dry time by hole size.
A large patch is very doable as a DIY project if you're patient. Hand it off when the hole is on a highly visible wall, the cut would land near wiring or plumbing, you don't have scrap drywall and tools on hand, or you need the wall back to normal before a showing, guests, or move-out.
WhatAHole techs dry each coat with a heat gun, so large patches don't sit overnight between layers. Snap a photo of your hole at WhatAHole for a real price. Our photo estimate tips show how to take a shot that's easy to price.
Common mistakes on large patches
- Skipping the backer. A patch screwed only to the old drywall edges cracks along the seams.
- Wrong thickness. A 1/2-inch patch in a 5/8-inch wall leaves a dip you'll fight with mud forever.
- Forcing a tight patch. Jamming the piece in crushes the edges and makes the seams bulge.
- Screws too close to the edge. Within about an inch, drywall crumbles instead of holding.
- Thick coats to save time. Heavy coats shrink, crack, and leave a visible hump under raking light.
- Narrow feathering. A big patch needs wide, tapered coats, often 12 inches or more past the seams, to blend in.
- No primer. Unprimed compound flashes through the paint.
FAQ
How big of a hole needs a new piece of drywall?
Most guides put the line at roughly 4 to 6 inches across. Below that, a mesh or California patch usually works. Above it, or whenever the edges are crushed, cut the damage out and screw in a new piece with backing.
Can I patch a large hole without a stud behind it?
Yes. That's what backer strips are for. Two pieces of 1x2 or plywood screwed behind the opening give the new drywall something solid to attach to, so you don't need to reach a stud.
What can I use as backing for a drywall patch?
Wood strips like 1x2 or 1x3, plywood scraps, or metal studs all work. Avoid paint sticks, which are too flimsy, and full 2x4s, which are heavy and hard to fit through the hole.
Do I use mesh tape or paper tape on a large patch?
Either works. Self-adhesive mesh is easier for beginners because it goes on dry. Paper tape bedded in compound is stronger on seams and less likely to crack, but takes a little more practice.
How many coats of mud does a large patch need?
Usually three or four thin coats, each wider than the last. Several thin coats are easier to smooth than one or two thick ones, and they dry faster.
How long does it take to patch a large hole in drywall?
DIY hands-on work is often 1 to 3 hours, but dry time between coats usually stretches the job across two days. A pro who heat-dries each coat can finish about 90% of hole repairs in a single visit.
Should I hire someone to fix a large hole in drywall?
Hire it out when the hole is on a main wall, you'd be cutting near wires or pipes, or you need it done fast. Otherwise it's a manageable weekend project. Either way, upload a photo at WhatAHole to get a price before you decide.