How to Fix a Fist-Sized Punch Hole in Drywall
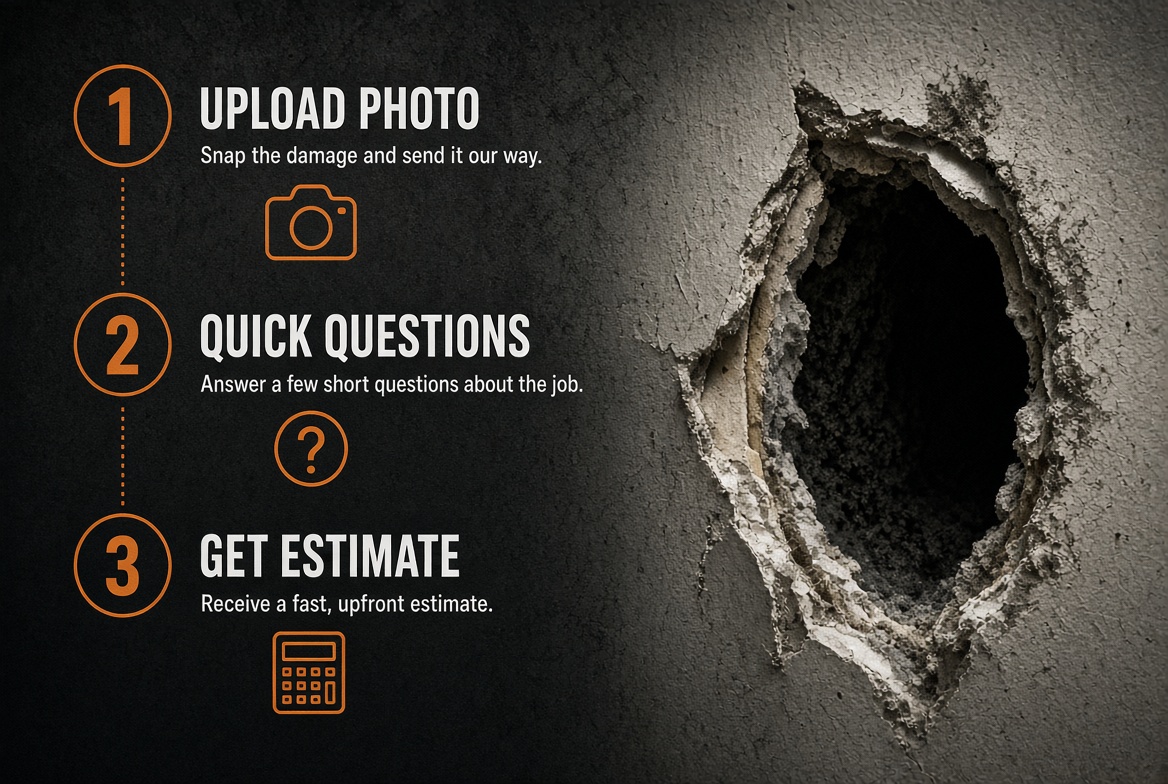
It happens. A bad day, a roughhousing accident, a moving box swung too hard. However it got there, a fist-sized hole is a normal repair. You can fix it in a few steps. Check for wires and studs, cut the hole into a clean square, screw wood backers behind it, fit in a new piece of drywall, then tape, mud, sand, prime, and paint. Or hand it off to a pro, and in most cases it gets fixed in one visit.
Punch hole repair: quick answer
- Most punch holes are about 4–8 inches across. That's too big for spackle or a small stick-on patch.
- The reliable fix is a cut-in patch. Square up the hole, add wood backers, and screw in a new piece of drywall.
- Look before you cut. Wires and pipes can run through any wall.
- DIY usually takes a weekend because of drying time. The hands-on work is a few hours.
Step zero: check for wires, pipes, and studs
Do this before you buy anything. It takes two minutes.
Look inside
Shine a flashlight into the hole and look up, down, and to both sides. You're looking for:
- Wires or cables. They usually run sideways through holes drilled in the studs, or up and down to a switch or outlet.
- Pipes. These are common on walls near bathrooms and kitchens.
- A stud. Sometimes a punch lands right next to one. That's helpful, since you can screw the patch into it.
If there's an outlet or switch on the same wall nearby, assume wires are close. Turn off that circuit at the breaker before you cut. When in doubt, cut by hand with a jab saw and shallow strokes, never a power tool. The Electrical Safety Foundation International has plain-language guidance on staying safe around home wiring.
Older home? Test before you sand
Homes built before about 1980 may have asbestos in the drywall or joint compound. Sanding or cutting old material can put fibers in the air. If your home is that age, read the EPA's guidance on protecting your family from asbestos exposure and consider testing before you cut or sand.
Pick your fix by hole size
| Hole size | Typical cause | Best fix |
|---|---|---|
| Under ~2" | Glancing hit, small punch-through | Self-adhesive mesh patch + compound |
| ~2–4" | Knuckles through the board | California patch |
| ~4–8" (most punch holes) | Full fist through the wall | Cut-in patch with wood backers |
| Over ~8", or several holes | Repeated hits, broken-out section | Larger cut-in patch, or call a pro |
If your hole is on the smaller side, our doorknob hole guide walks through the California patch method.
Tools and materials
- Utility knife with a fresh blade
- Drywall jab saw
- Tape measure, pencil, and a small square or straightedge
- Flashlight
- Drill/driver
- 1-1/4" drywall screws
- Two wood backers, like 1x3 furring strip or scrap wood, each about 4 inches longer than the hole is tall
- Scrap of drywall that matches your wall thickness (usually 1/2")
- Paper or mesh drywall tape
- Joint compound (premixed, or setting-type powder if you want faster coats)
- 4", 6", and 10" drywall knives
- Fine-grit sanding sponge
- Primer and matching paint
- Drop cloth, dust mask, and safety glasses
Typical spend: roughly $25–50 in materials for a single fist-sized hole. Bigger punch-throughs that need more board, tape, and compound can run $50–100+. Buying tools from scratch adds to that. See our drywall hole repair cost guide for DIY vs pro ranges.
How to fix a fist-sized hole in drywall, step by step
- Protect the area. Lay down a drop cloth and move furniture back. Cutting and sanding drywall makes fine dust.
- Mark a clean square. Draw a square or rectangle around the hole, about an inch past any torn paper or crumbled edges. If a stud sits right at the edge, extend the square to the center of the stud.
- Cut it out. Score the lines with a utility knife, then cut through with the jab saw. Keep the cuts shallow and go slowly so you can feel anything behind the board.
- Add the backers. Slide a wood strip inside the opening, along the left edge. Half of it should sit behind the drywall and half should show in the opening. Hold it tight and drive a drywall screw through the wall into the strip, above and below the hole. Repeat on the right side.
- Cut the patch. Measure the opening and cut a piece of drywall to match. Aim for a gap of about 1/8 inch or less on each side.
- Screw it in. Set the patch into the opening and drive screws through it into the backers (or the stud). Sink the heads just below the surface without tearing the paper.
- Tape the seams. Spread a thin bed of compound over each seam. Press paper tape into it, then smooth it flat with the 4" knife. Mesh tape goes on dry, then gets a coat over top.
- First coat. Cover the tape and screw heads with a thin layer of compound. Let it dry fully. Premixed mud often needs overnight. Setting-type compound hardens in the time on the bag, so you can do multiple coats in one day.
- Second and third coats. Use wider knives each time and feather each coat a few inches past the last one. Thin and wide beats thick and narrow, every time.
- Sand. Lightly sand with a fine sponge until the edges blend and you can't feel a ridge. Wear a mask.
- Prime and paint. Spot-prime the patch so the paint doesn't look dull or shiny over it, then paint. Painting the wall corner to corner usually hides a patch best.
Common DIY mistakes
- Skipping the backers. The patch will flex or sink later.
- Piling on compound. A thick coat leaves a hump you'll see under any light.
- Sanding through the tape. If paper fuzz shows up, stop, add a skim coat, and sand lighter.
- Painting without primer. The patch will "flash" and stand out.
DIY or pro: how to decide
| DIY | WhatAHole pro repair | |
|---|---|---|
| Cost | Materials only, plus tools you don't own | A real price from a photo, before you book |
| Time | A few hours of work, usually spread over two days for drying | About 90% of hole repairs finished in one visit |
| Mess | Your dust, your cleanup | Tech handles dust and cleanup |
| Finish | Depends on your knife and sanding skill | Paint-ready patch |
DIY makes sense if you're handy, the wall isn't front and center, and you don't mind the wait between coats.
When to call a pro
Consider handing it off when:
- You found wires, a box, or pipes right at the hole.
- The hole is bigger than about 8 inches, or there's more than one.
- The edges keep crumbling as you trim them.
- The home is older and you'd rather not deal with sanding old material yourself.
- It needs to look right fast, before a showing, a move-out, a landlord walkthrough, or family visiting.
- You'd just rather not think about it again.
No explanations needed. WhatAHole techs dry each coat with a heat gun, so about 90% of hole repairs are done in a single visit. Snap a photo of the hole at WhatAHole to get a real price. Here's what to expect after booking.
FAQ
Can I fix a fist-sized hole without a stud behind it?
Yes. That's what the wood backers are for. You screw them in behind the edges of the opening, and they hold the patch just like a stud would.
Can I use a stick-on patch kit for a punch hole?
Self-adhesive patches work best for holes under about 4 inches. A full fist-sized hole usually needs a cut-in patch with backing so it doesn't flex later.
How long does it take to fix a punch hole in drywall?
Hands-on work is a few hours. With premixed compound, drying time usually stretches DIY into a second day. Setting-type compound can shorten that.
Will the patch be visible after painting?
Not if you feather each coat wide, sand lightly, and prime before painting. Most visible patches come from thick coats or skipped primer.
Can I get a punch hole fixed quickly and discreetly?
Yes. Upload a photo at WhatAHole for a real price. A tech comes out and patches it, and about 90% of hole repairs are finished in one visit.